So, a couple of weeks ago I decided I wanted to try something new, namely resin casting for jewellery making. I spent many hours viewing YouTube video tutorials, scouring Google images and reading reviews before taking the plunge and ordering some resin and moulds.
I must admit I was quite nervous about using it, I’m not the tidiest of workers and was worried about glueing myself to the table or something. Needless to say, after I was finished there was glitter, sequins and beads everywhere (still is)!

Ready To Start!
I have quite a lot of glitter stashed away, but also bought some new bright colours specially for this project from a £1 shop, and used them all quite liberally. I also bought some stickers to put into the resin, but only used one as they were a little big for most of the shapes. I used various sequins and confetti too, plus a couple of buttons and a love heart sweet (which weren’t overly successful this first time).

Resin Setting In Their Moulds
After impatiently waiting for 24 hours, the resin was hard enough to pop out of their moulds, although still not set hard enough to tidy the edges (it takes three or four days). I was happily surprised by the results!
Lessons learnt from the first run
- Less is more! Especially where the little hearts are concerned.
- Don’t stir the resin in their moulds with a scratchy stick as it marks the plastic (rooky mistake, no doubt).
- Don’t put glitter in the resin before putting in buttons if you want them to be seen.
- Check for air bubbles when larger items are put into the resin (the love heart).
Other than a few little things, I think they came out quite well for a first attempt.

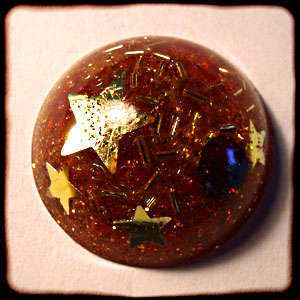
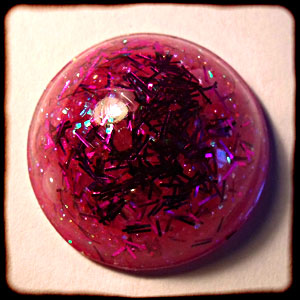
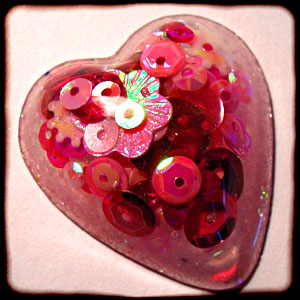
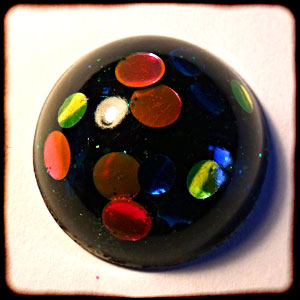
First Lot Of Finished Pieces Popped Out Of Their Moulds
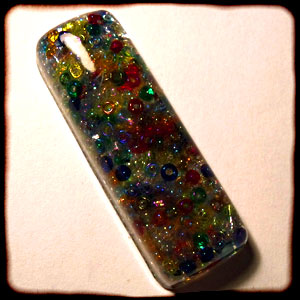
I took a bit more time over my second attempt, which threw up another lesson – don’t take TOO long, as the resin begins to “thicken” after an hour or so making it more difficult to use. This time I stuck to using small beads and glitter (and an eye bead, couldn’t resist!).

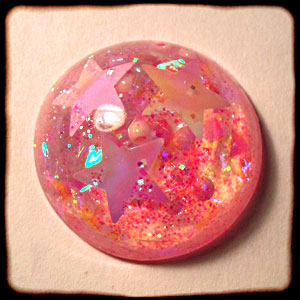
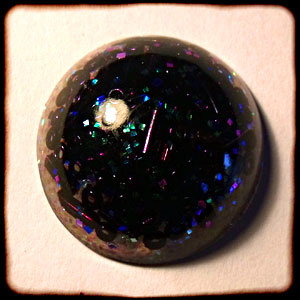
Second Lot Of Finished Pieces Popped Out Of Their Moulds
After leaving them (mostly) alone for a few days to cure properly, I gave them a sand around the edges and are ready to make into necklace pendants!

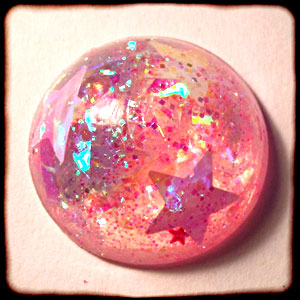
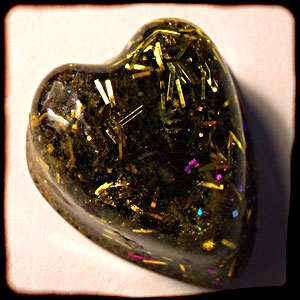
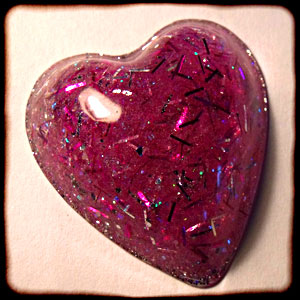
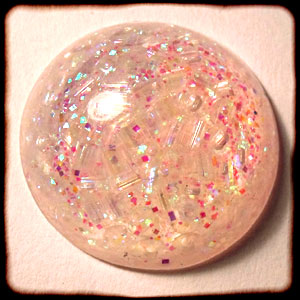
Finished Resin Pendants
Individual Pieces:


Tomorrow I shall set about glueing the pendant hooks to my favourite pieces to turn them into necklaces.